When you select Standard Email Journey in the Create a New Journey screen, you will be brought to the Set up Journey tab. This is the first of the four stages in creating a fully functioning HTML Standard Email Journey.
You will see the names of all four stages along the top of the screen, with arrows showing their sequential relationship. These are:
Set up Journey > Manage Content > Segmentation > Schedule.
Once you have completed stage one, Set up Journey, you can navigate freely back and forth through these four stages. In this guide, we will explore each stage in sequence.
The first step is to give a name to your Journey, as shown below. Choose a clear, identifiable Journey name, so you can find the Journey easily among your archived Journeys in the future.
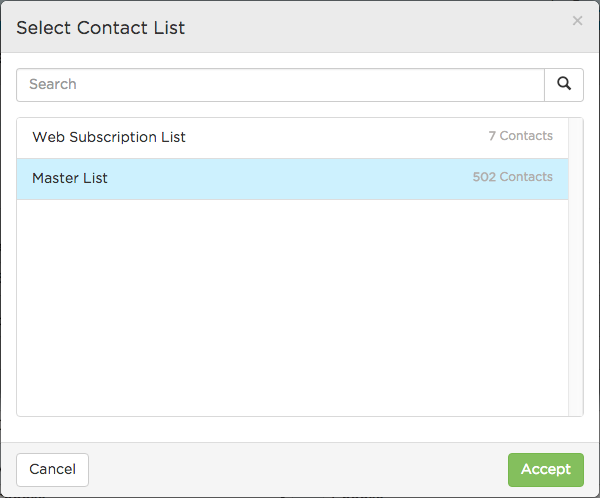
After you have named your Journey, the next step is to select a Contact List. Click on the 3 dots symbol (as shown above) to display any Contact Lists that have been uploaded to your account. You can learn more about working with Contact Lists here.
Next, choose branding under the 'Deliverability Settings'. This should automatically be set to your own branding, but may be set to the default 'CustomerMinds'. This branding will dictate how an email is received by your contacts, and the Company Name and Email Address details that they will see on your email in their inbox. These branding settings can be changed in the next step in your campaign, but if you'd like to set up a new branding option, so you can select it from the menu in future, contact us at support@customerminds.com.
Finally on the Set up Journey screen you can enter optional Comments or Tags. Adding a Tag can help with searching and sorting your Journeys, and the comments are purely for internal visibility.
When you are finished, click the green "Create Journey" button.
Once you press Create Journey, it will bring you to the Manage Content screen.
Comments